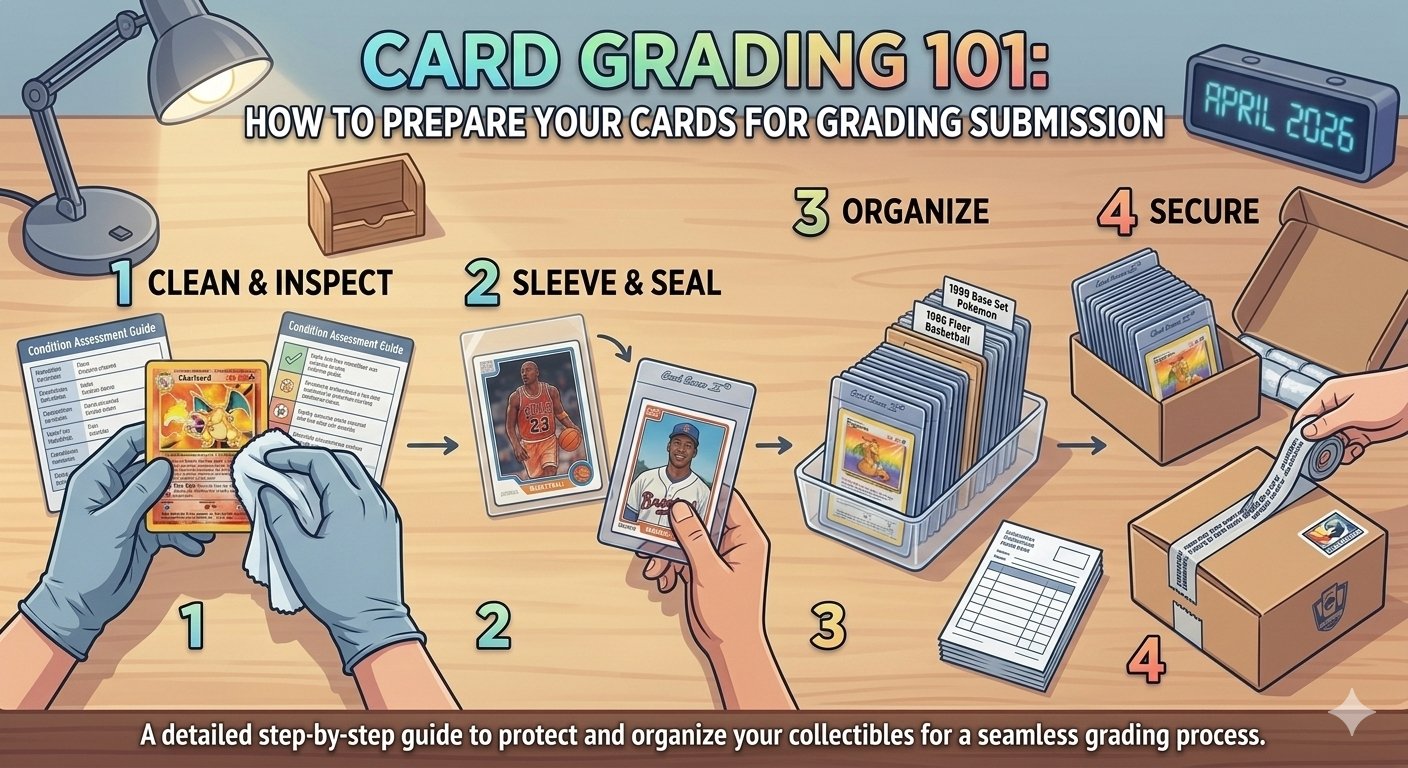
How to Prepare Your Cards for Grading Submission
Proper preparation is the difference between a Gem Mint 10 and a disappointing 9. Here's exactly how to prep your cards for submission to ensure they arrive safely and in the best possible condition.
Step 1: Clean & Inspect
Before touching your cards, wash and dry your hands thoroughly, or use clean cotton gloves. Work on a clean, flat surface with good lighting.
- Inspect under bright, angled light — tilt the card to reveal surface scratches, print lines, and fingerprints that aren't visible head-on
- Use a 10x loupe or magnifier — check corners for micro-fraying and edges for whitening
- Check centering — compare the borders on all four sides, front and back
- Do NOT attempt to clean cards — rubbing, wiping, or using chemicals can cause more damage than they fix
This inspection step also helps you decide which cards are worth the grading fee. If you spot obvious defects, you can make an informed decision before spending money on submission.
Step 2: Sleeve & Seal
Every card needs to be in a penny sleeve, then placed in a semi-rigid card holder (Card Saver I is the industry standard).
- Penny sleeve first — slide the card in gently, opening side up. Don't jam it in or you'll ding the corners
- Then into a Card Saver I — these semi-rigid holders protect the card during transit and are preferred by all major grading companies
- Do NOT use top loaders with tape — tape residue can transfer to cards and cause damage. If you must use top loaders, use blue painter's tape only and never let tape touch the card
- Do NOT use screw-down holders or magnetic cases — these can damage cards over time and are difficult for graders to open
Step 3: Organize
Stack your sleeved and cased cards in the order they appear on your submission form. This makes the grading company's job easier and reduces the chance of errors.
- Number each Card Saver — write a small number on the Card Saver (not the sleeve or card) with a fine-tip marker that matches your submission form line number
- Group by service level — if you're using different service tiers, separate them clearly
- Include your submission form — fill out the EJE online submission form, print it, and place it on top of your stack
Step 4: Secure & Ship
Packaging is critical. Cards damaged in transit are heartbreaking and preventable.
- Place cards between cardboard — use two pieces of rigid cardboard slightly larger than the Card Savers, secured with rubber bands or painter's tape
- Wrap in bubble wrap — at least one layer around the entire cardboard sandwich
- Use a padded mailer or small box — fill any empty space with packing paper or bubble wrap so nothing shifts
- Ship with tracking and insurance — USPS Priority Mail with tracking is the most common choice. Insure for the declared value of your cards
- Write "FRAGILE" and "DO NOT BEND" on the outside of the package
Common Mistakes to Avoid
- Touching the card surface with bare fingers (oils cause long-term damage)
- Using rubber bands directly on cards or sleeves
- Shipping in a regular envelope with just a stamp
- Forgetting to include the submission form
- Not declaring accurate card values for insurance purposes
Ready to Get Your Cards Graded?
EJE Cards offers professional authentication and grading starting at just $6.50/card.
Submit Your Cards →